Paint Protection Film Installation for Vehicles With Complex Curves and Contours
GET A FREE ESTIMATEApril 6, 2026
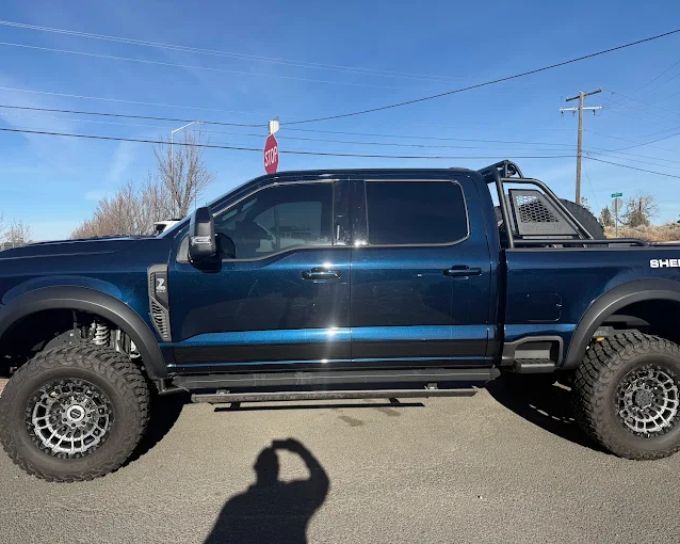
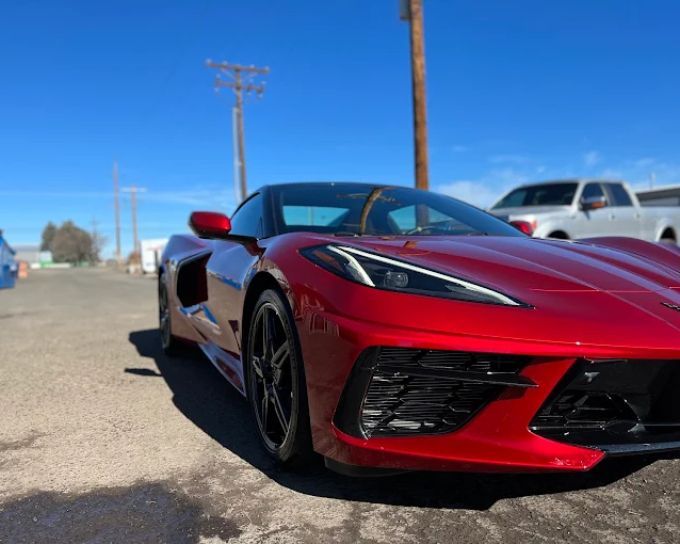
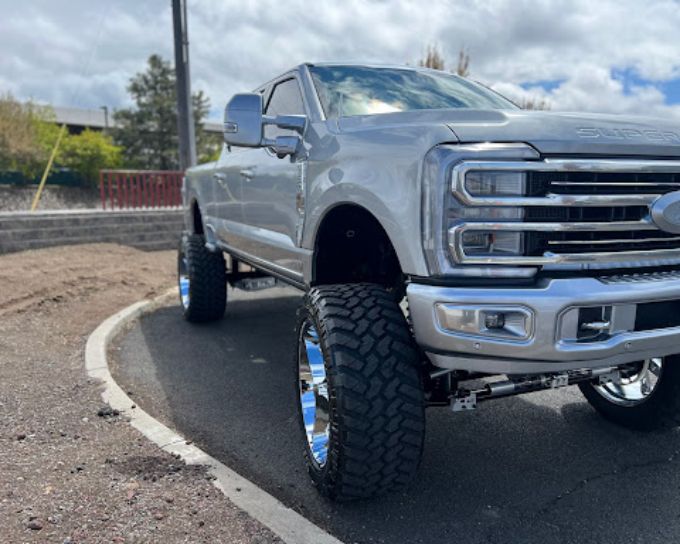
Paint protection film is one of the smartest ways to keep your vehicle looking its best, but applying it to cars with complex curves is a different challenge entirely from covering a flat hood or door panel. Sweeping body lines, tight recesses, and contoured fenders all demand a level of care and precision that goes well beyond standard installation. When the process is rushed or the technique is off, the film can wrinkle, bubble, or lift at the edges. In this guide, we walk through what makes curved surfaces different and how professional installers approach these challenges to deliver smooth, lasting protection that follows every contour of your vehicle.
Why Curved Surfaces Require a Different Approach
Applying paint protection film to curved areas demands more than patience. It requires a refined technique and a thorough understanding of how film behaves under tension. Unlike flat panels where the film adheres in a relatively straightforward manner, curves introduce complications such as uneven stretching and compression. These distortions can produce wrinkles or compromise protection if they are not addressed correctly during installation.
Surface preparation is where every successful installation begins. The painted surface must be completely clean before the film is applied. Any dust or debris trapped beneath the film will become visible and can lead to premature peeling or bubbling. Installers also need to anticipate how the film will react when stretched over raised contours or pressed into recessed areas, ensuring it conforms without overstretching, which can cause thinning or tearing.
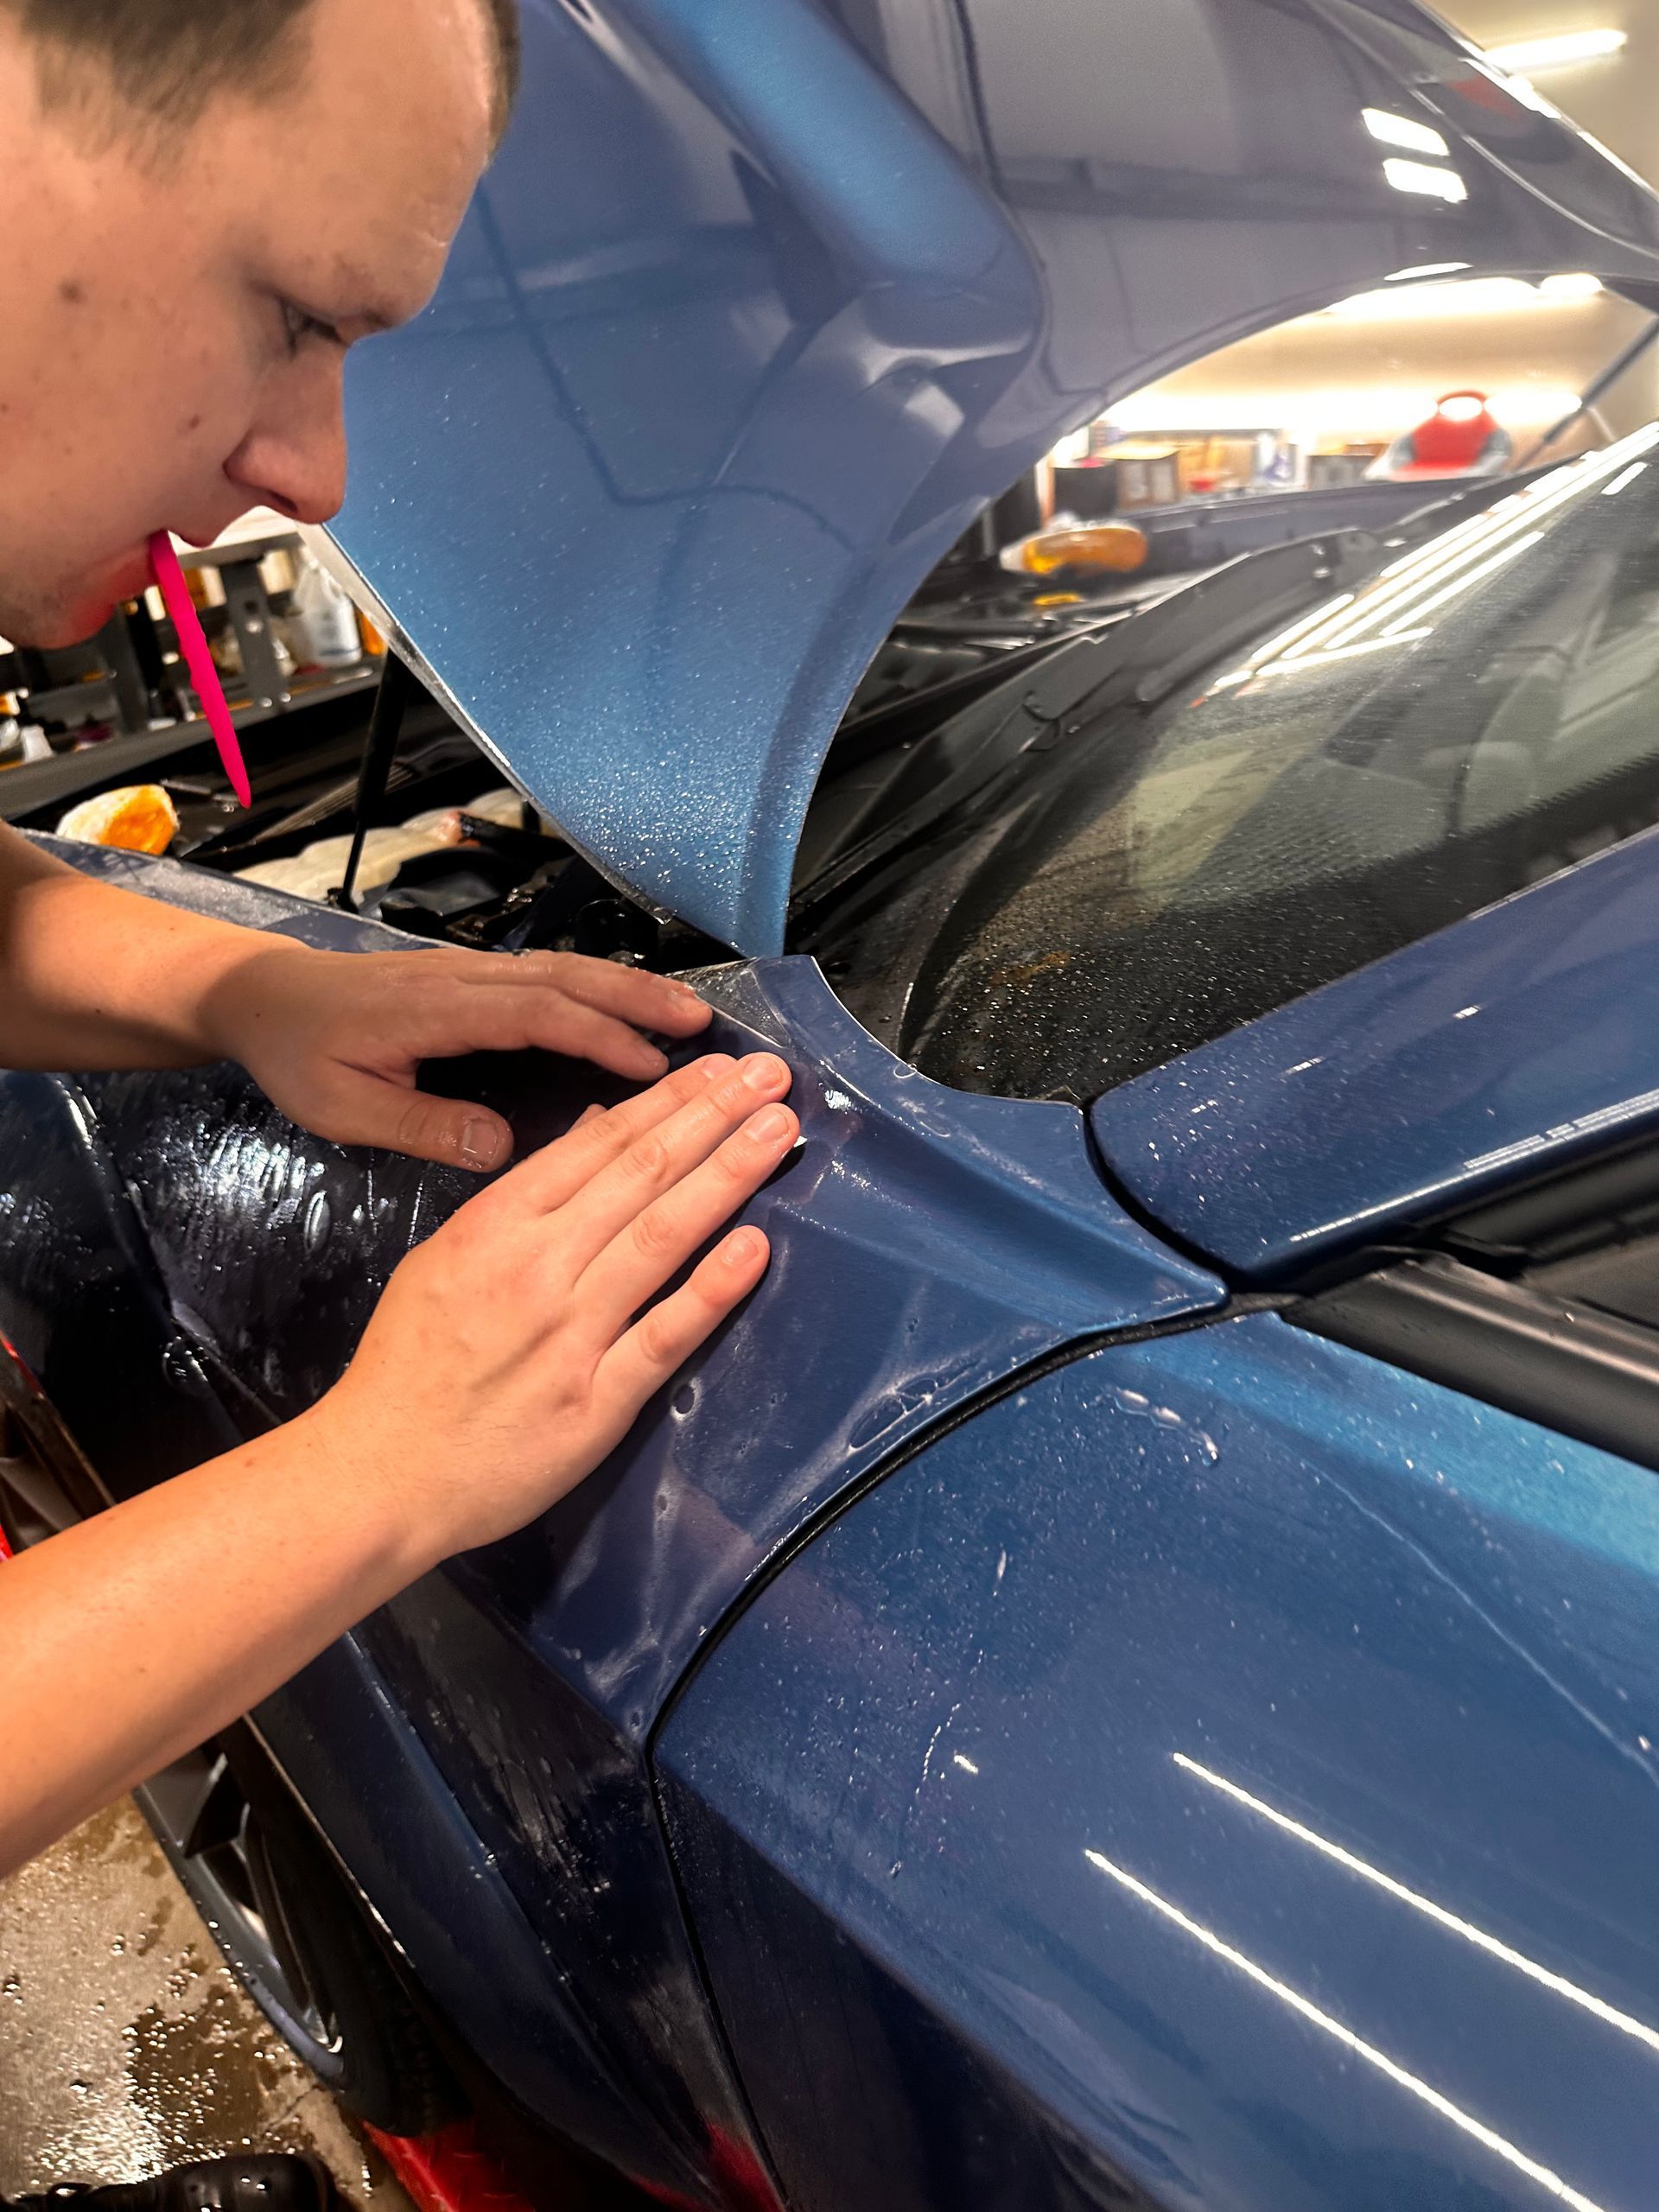
Different types of curves also call for slightly different handling. A convex curve, such as the surface of a fender flare, requires the film to stretch outward. A concave area, such as around a mirror housing or a recessed door handle, requires careful manipulation to prevent air pockets or folds from forming in hard-to-reach spots. This distinction affects everything from the type of application fluid used to the amount of heat applied, and it is a balance that only comes with proper training and hands-on experience.
Professional installers use heat guns with precision during this stage. Gentle warmth makes the film pliable enough to conform to complex shapes without tearing, but too much heat can damage both the film and the paint underneath. Knowing when and how much heat to apply to a specific section is one of the key factors in achieving a clean, seamless result.

Tools and Materials That Make the Difference
Every quality PPF installation depends on having the right tools and materials for the job. A heat gun or steamer is essential because it softens the film and allows it to stretch over contoured surfaces without tearing or wrinkling. Controlled heat application ensures the film adheres firmly to every curve while preserving its clarity and protective qualities.
The squeegee plays an equally important role. Its firm but gentle pressure pushes out trapped air and excess moisture, creating a solid bond between the film and the paint surface. A squeegee with a felt edge or soft coating is preferable, especially around intricate curves where excess pressure can cause damage to either the film or the paint.
A spray bottle filled with a mild soapy water solution is another key part of the process. This lubrication layer allows the installer to reposition the film multiple times before it sets, which prevents costly mistakes. The soap concentration matters as well. Harsh detergents can interfere with adhesion, so a mild solution is always preferred.
For trimming, a sharp utility knife is necessary for clean, precise cuts that match the vehicle's body lines. Dull blades create ragged edges that are more likely to peel over time. Professional installers change blades frequently throughout an installation to maintain accuracy from start to finish.
Surface cleanliness requires one more step beyond washing. A clay bar lifts bonded contaminants like tar, brake dust, and industrial fallout from the paint's surface. These are imperfections that a standard wash will not remove but that can cause bubbling or lifting if left under the film. Pairing the clay bar process with a thorough dry-down using microfiber towels gives the surface a clean, smooth foundation for film application.
Preparing the Vehicle
Proper vehicle preparation is the foundation of any quality PPF installation, particularly when curved surfaces are involved. Skipping or rushing this stage almost always leads to problems later, including bubbles, uneven adhesion, or premature lifting.
The process starts with a thorough wash using a high-quality car shampoo that removes oils, grease, and grime without leaving residue. Microfiber towels are used for drying to avoid introducing micro-scratches to the surface. Particular attention goes to curved areas like bumper edges and mirror caps, where dirt tends to collect and hide.
Once the surface appears visually clean, decontamination comes next. The clay bar process removes bonded particles that cling to the paint even after washing. These contaminants are especially problematic on complex curves where tight geometry makes it easy for imperfections to go unnoticed until they create visible problems under the film.
After decontamination, a careful surface inspection is conducted using a bright flashlight angled across each panel. This catches any remaining particles or blemishes that are not visible under normal lighting. Any paint defects such as scratches or swirl marks should be corrected at this stage, because addressing them after the film is applied is far more difficult.


Application Techniques for Curved Surfaces
Applying film to curved areas begins with a careful initial placement. The target surface is sprayed with soapy water to create a slick layer, and the backing paper is peeled back partially so the film can be loosely positioned over the curve. This loose alignment gives the installer room to adjust without the film adhering prematurely or trapping large pockets of air.
Patience during this stage is critical. Rushing the placement step leads to misalignments that are difficult to correct once heat and pressure are applied. Think of it as positioning fabric before making precise folds and adjustments. Once the film is roughly positioned, controlled heat is introduced using a heat gun. Warming the film makes it pliable enough to conform to contoured surfaces naturally. The goal is to warm the film, not overheat it. Too much heat risks damaging the adhesive and distorting the film permanently, while too little leaves it stiff and resistant to shaping.
As the warmed film is stretched over convex or concave surfaces, the installer guides it slowly and allows it to settle into place. Overstretching thins the film and reduces its durability and optical clarity. Conversely, not stretching enough leaves gaps and bubbles. Experienced installers develop a feel for the right amount of tension by pressing lightly along edges and monitoring how the film responds throughout the process.
With the film shaped over the contours, squeegeeing secures the bond. Starting from the center and working outward in short, deliberate strokes pushes trapped air and moisture toward the edges. Consistent pressure combined with an awareness of how resistance changes across the surface helps prevent damage during this step. On tight curves where tension varies significantly, slow and methodical squeegee passes produce better results than quick ones.
Post-Installation Care
Once the film is installed, giving it the right care in the days and weeks that follow protects the investment and extends its performance life. The film needs time to fully bond with the paint surface after installation. Waiting at least 48 hours before washing the vehicle allows the adhesive layer to cure completely, reducing the risk of early peeling or bubbles.
After the initial curing period, regular care keeps the film performing at its best. Using a gentle, PPF-compatible car shampoo avoids the corrosive chemicals that can degrade the film's surface over time. Hand washing with a soft microfiber mitt is preferred over automated car washes that use stiff brushes, which can cause scratching and fading.
Applying a compatible wax every few months adds an extra layer of protection and helps the surface shed water and resist contaminants. Regular edge inspections, ideally on a monthly basis, catch any early signs of lifting or peeling before they spread. A simple visual check in good lighting is enough to identify problems while they are still easy to address. For issues that go beyond routine maintenance, having a professional assess the film annually helps ensure the installation remains intact and performing as intended.
Proper post-installation care turns a quality installation into durable, long-term protection. Vehicles that navigate demanding environments, from daily commutes to longer road trips, benefit most from consistent attention to their film's condition. Keeping up with this routine means your paint stays shielded under that protective layer, no matter what the road puts in its path.
Flawless Protection for Every Curve in Madras, OR
When your vehicle’s design includes sharp lines, deep contours, and intricate curves, precision matters at every step. At Perfection Plus Auto Salon, paint protection film is installed with a meticulous approach tailored to complex surfaces, using controlled techniques that ensure a smooth, secure fit across every panel. From careful preparation to expert shaping and finishing, each installation is handled to deliver clean edges, consistent coverage, and long-term durability.
Schedule your paint protection film service in Madras, OR today and give your vehicle the level of protection it deserves!