How Long Does Paint Protection Film Take to Fully Bond? Curing Time Explained
GET A FREE ESTIMATEJuly 10, 2025
When you invest in paint protection film for your vehicle, you're making a smart move to shield it from scratches and stains. But how long does it actually take for that film to do its job properly? You might think it's a quick fix, but the bonding and curing process can be more complicated than it seems. Understanding this timeline is essential, as it significantly impacts how well the film protects your car in the long run.
Paint protection film typically requires at least 24 hours for initial bonding; however, it can take up to two weeks to achieve full curing and optimal performance. During this time, it's crucial to maintain the proper environment to ensure maximum adhesion and long-lasting protection for your vehicle's paint.
Factors Influencing Bonding Time
One of the most significant variables affecting PPF bonding is temperature. When applying the film, aiming for optimal conditions can dramatically influence how quickly and effectively it adheres to your vehicle's surface. Ideally, the temperature should hover between 60°F and 80°F (15°C to 27°C). To illustrate this point, consider a situation where you’re installing PPF in cooler weather around 50°F (10°C). In these conditions, the adhesive might take up to twice as long to cure compared to a more ideal scenario.
- Temperature Levels: If you're planning an installation, check the forecast before proceeding. A chilly day may deter the bonding; it could lead to frustrating delays down the road. Conversely, while warmer temperatures can expedite curing, be cautious about extreme heat, which may cause improper adhesion. For instance, temperatures soaring above 85°F (29°C) can complicate things by introducing too much heat too quickly, thus extending bonding times by an additional 12-24 hours due to risks of material mishaps. Humidity levels play a crucial role in ensuring that the adhesive bonds successfully with your vehicle's paint. Ideally, keeping relative humidity between 40% and 70% creates a perfect environment for bonding. Too high humidity can hinder adhesion; just imagine trying to stick two pieces of tape together on a damp surface—it’s tricky! Conversely, if it’s too dry, you risk prolonging the bonding time and compromising that snug fit you aim for.
- Humidity Factors: This means that during installation, keeping your environment in check is just as necessary as looking at temperature. Strive for conditions where moisture is not a barrier to adhesion but also not overly abundant. Additionally, proper surface preparation can significantly affect bonding time as well. Before installation, ensure that your vehicle is spotless—dirt, dust, and contaminants can increase curing time by a staggering 50% or more. Think of it like baking: if you've got flour everywhere but don't prepare your mixing bowl properly first, it's easy for your cake mix to turn into a sticky disaster!
When planning for PPF installation—or any project requiring precision—considering these environmental factors along with meticulous surface preparation is essential. These considerations lay the groundwork for understanding how long binding processes take under various conditions.
Surface Preparation and Cleaning
First things first, before you even think about applying PPF, you need to prepare your vehicle's surface. The cleanliness of this surface is non-negotiable; any lingering dirt, grease, or wax can severely impact how well the film adheres. Imagine trying to stick a sticker onto a greasy table—it's just not going to work! Thus, the obsession with thorough cleaning isn’t just about being pedantic; it’s about ensuring that you get a solid bond that lasts.
- Cleaning Techniques: Begin by washing your vehicle with a pH-neutral soap to remove grime without residue. Follow up with a clay bar to eliminate embedded contaminants. Rinse thoroughly, then dry with a microfiber towel to prevent water spots. Finish by wiping the surface with 70–90% isopropyl alcohol to remove oils and ensure proper adhesion—let it dry fully before moving on.
- Surface Smoothness: Any tiny imperfections left behind—be they scratches or swirls—can lead to air bubbles trapped under the film once applied. People often overlook this aspect but smoothing out the surface through polishing compounds or additional clay bar use can make all the difference. Your goal is to achieve a flawless canvas before PPF touches it.
With a precise cleaning process and attention to surface details under your belt, you're setting up your PPF application for success. This careful preparation paves the way for following best practices, ensuring optimal performance of your paint protection film.


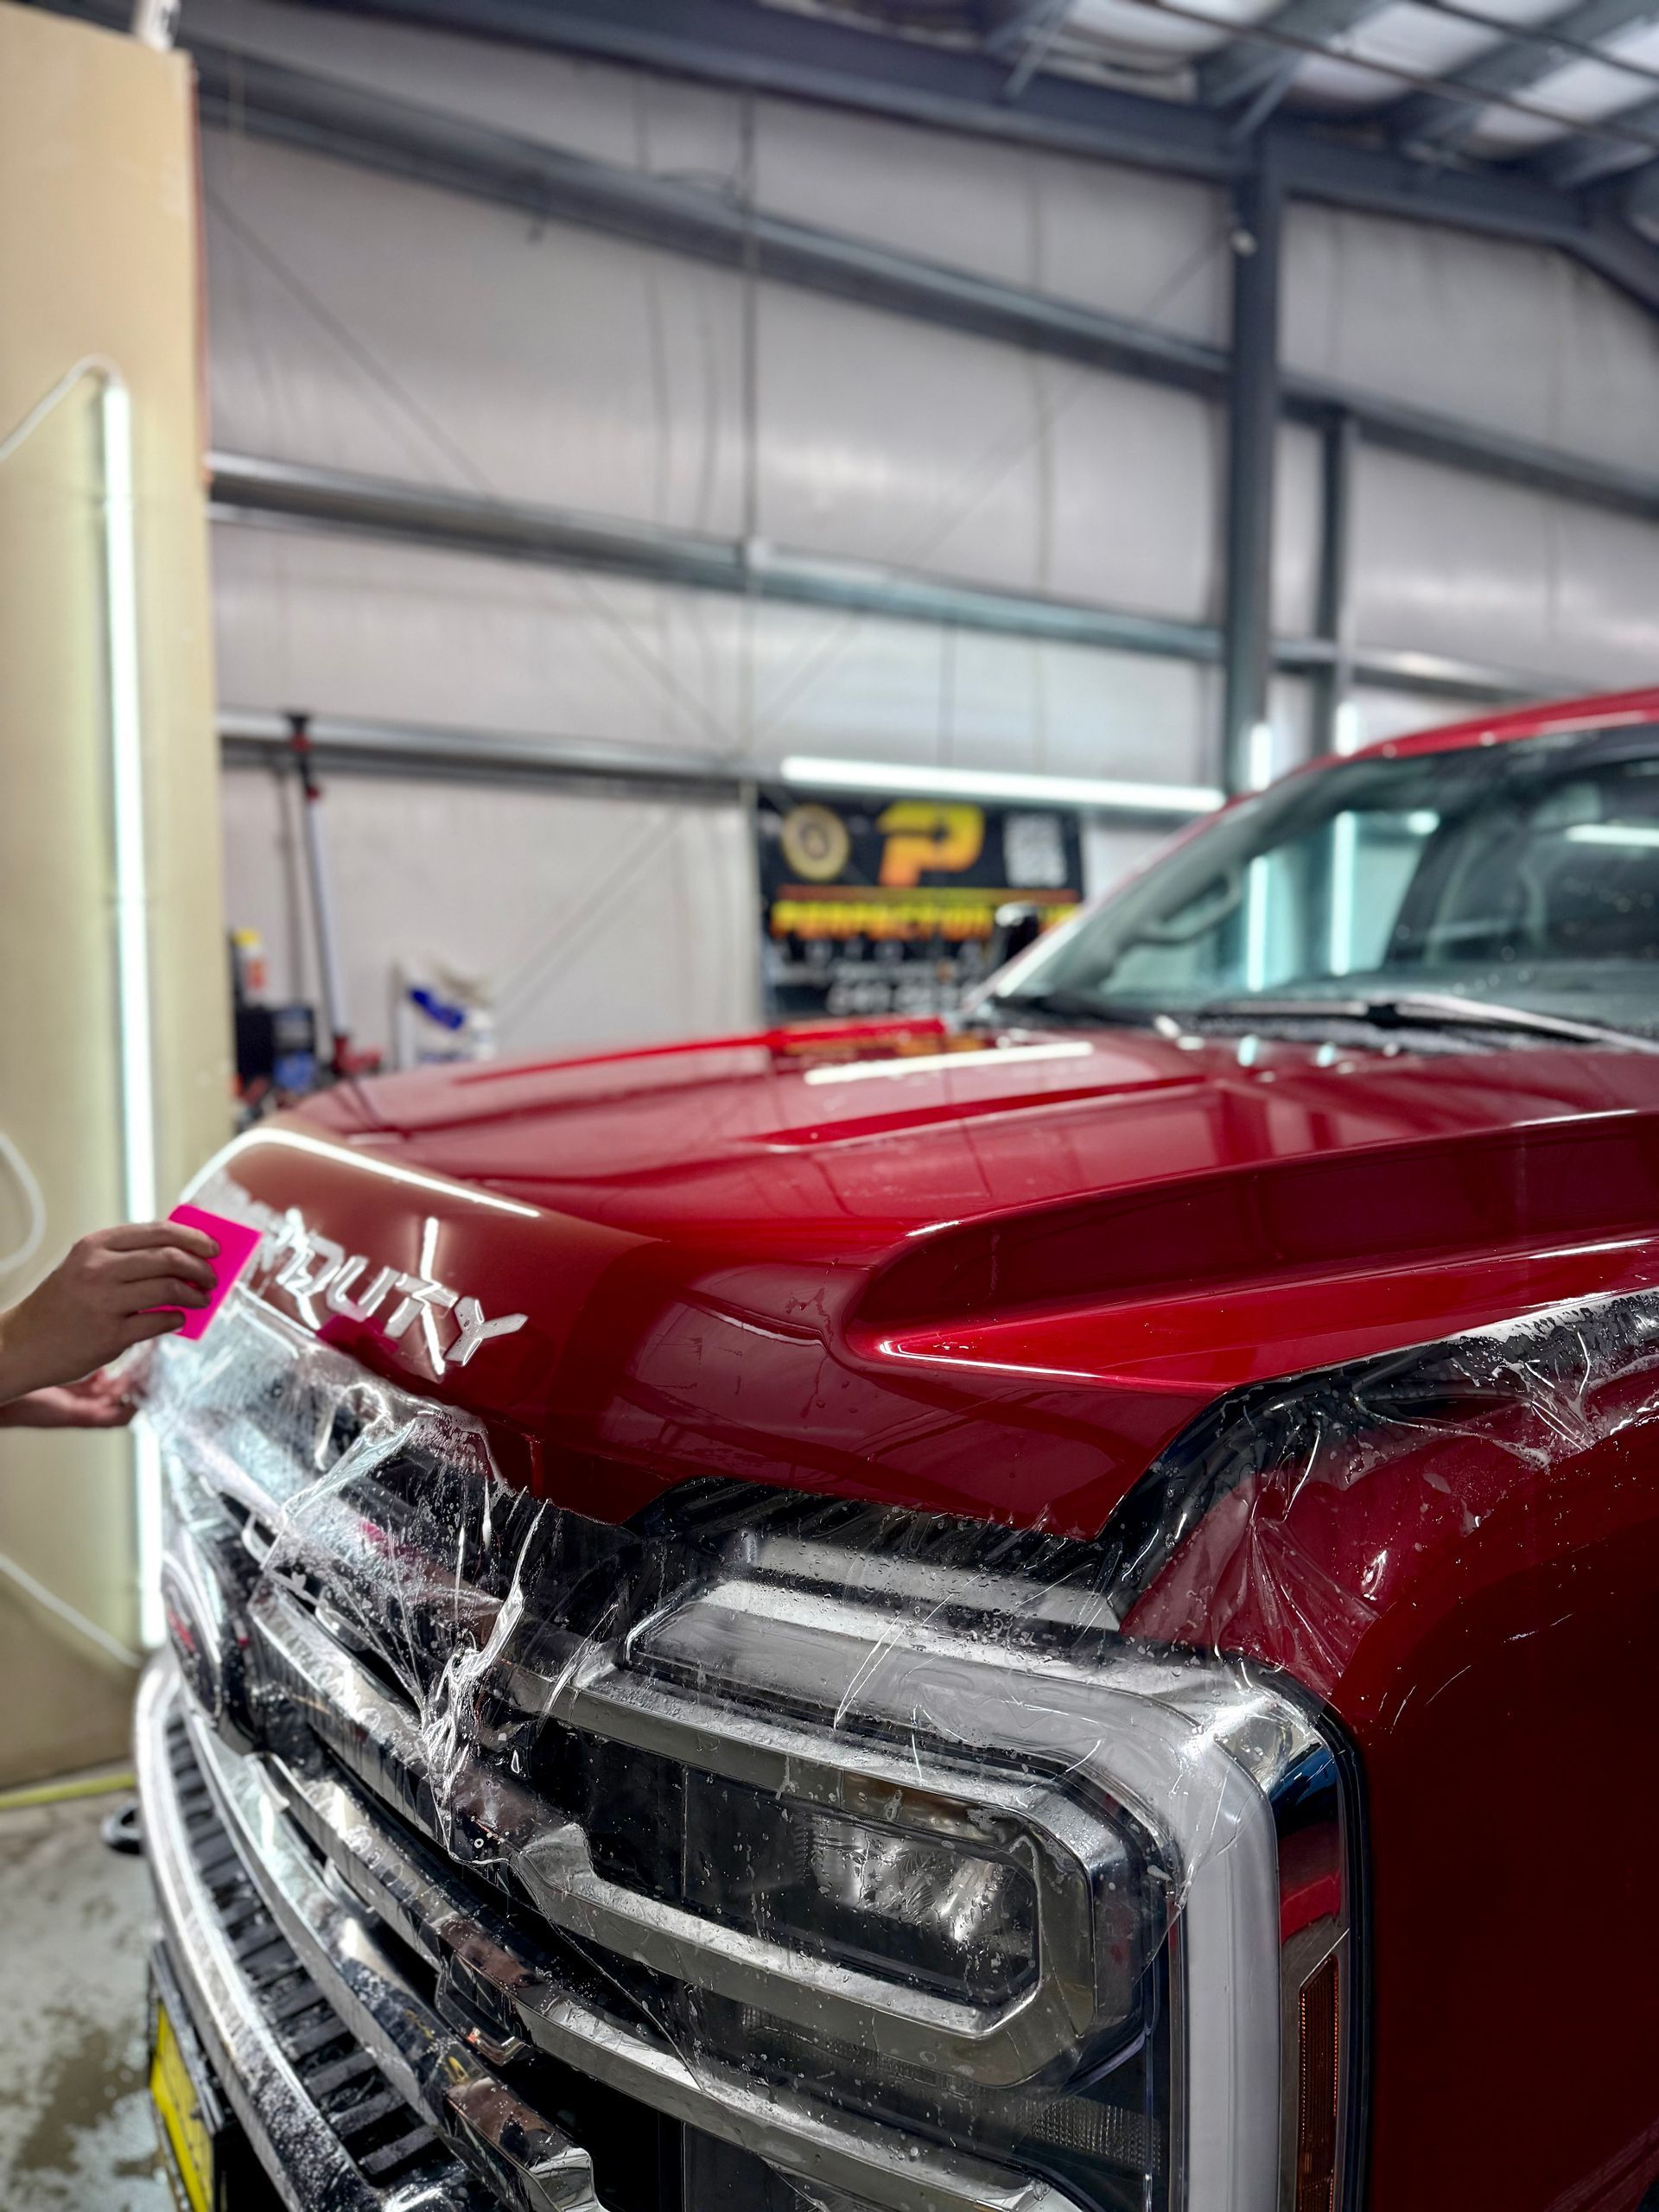
Tips to Ensure Proper Bonding
Specific techniques can make a significant difference in the effectiveness of PPF application. One crucial aspect is maintaining optimal temperatures during the process. Keeping your vehicle in a controlled environment is recommended, ideally between 60°F and 80°F (15°C to 27°C). This temperature range allows the adhesive to flow efficiently and bond effectively with the paint surface, reducing the chance of bubbles or imperfections. Similarly, avoiding any exposure to water for at least 48 hours after application plays a vital role in securing the film. Washing your car too soon can disrupt the adhesion process, risking premature lifting of the edges or complete failure of adhesion. It's best to keep your vehicle dry during this critical period and avoid high-humidity environments that could negatively impact bonding.
Another effective tip is to prioritize hiring a professional installer. Experienced installers know how to manipulate the film properly, applying it evenly and ensuring it conforms intricately to every contour of your vehicle. They possess the skills necessary to avoid air bubbles and wrinkles, common pitfalls for those attempting an installation themselves. When dealing with PPF, not all adhesives are created equal. Therefore, checking the adhesive quality before application can save you headaches down the line. Ensure that the adhesive used is compatible with your car's paint type; this compatibility significantly affects how well the film adheres over time. A film with high-quality adhesive will feel tacky when applied correctly and will stand up well against wear and tear.
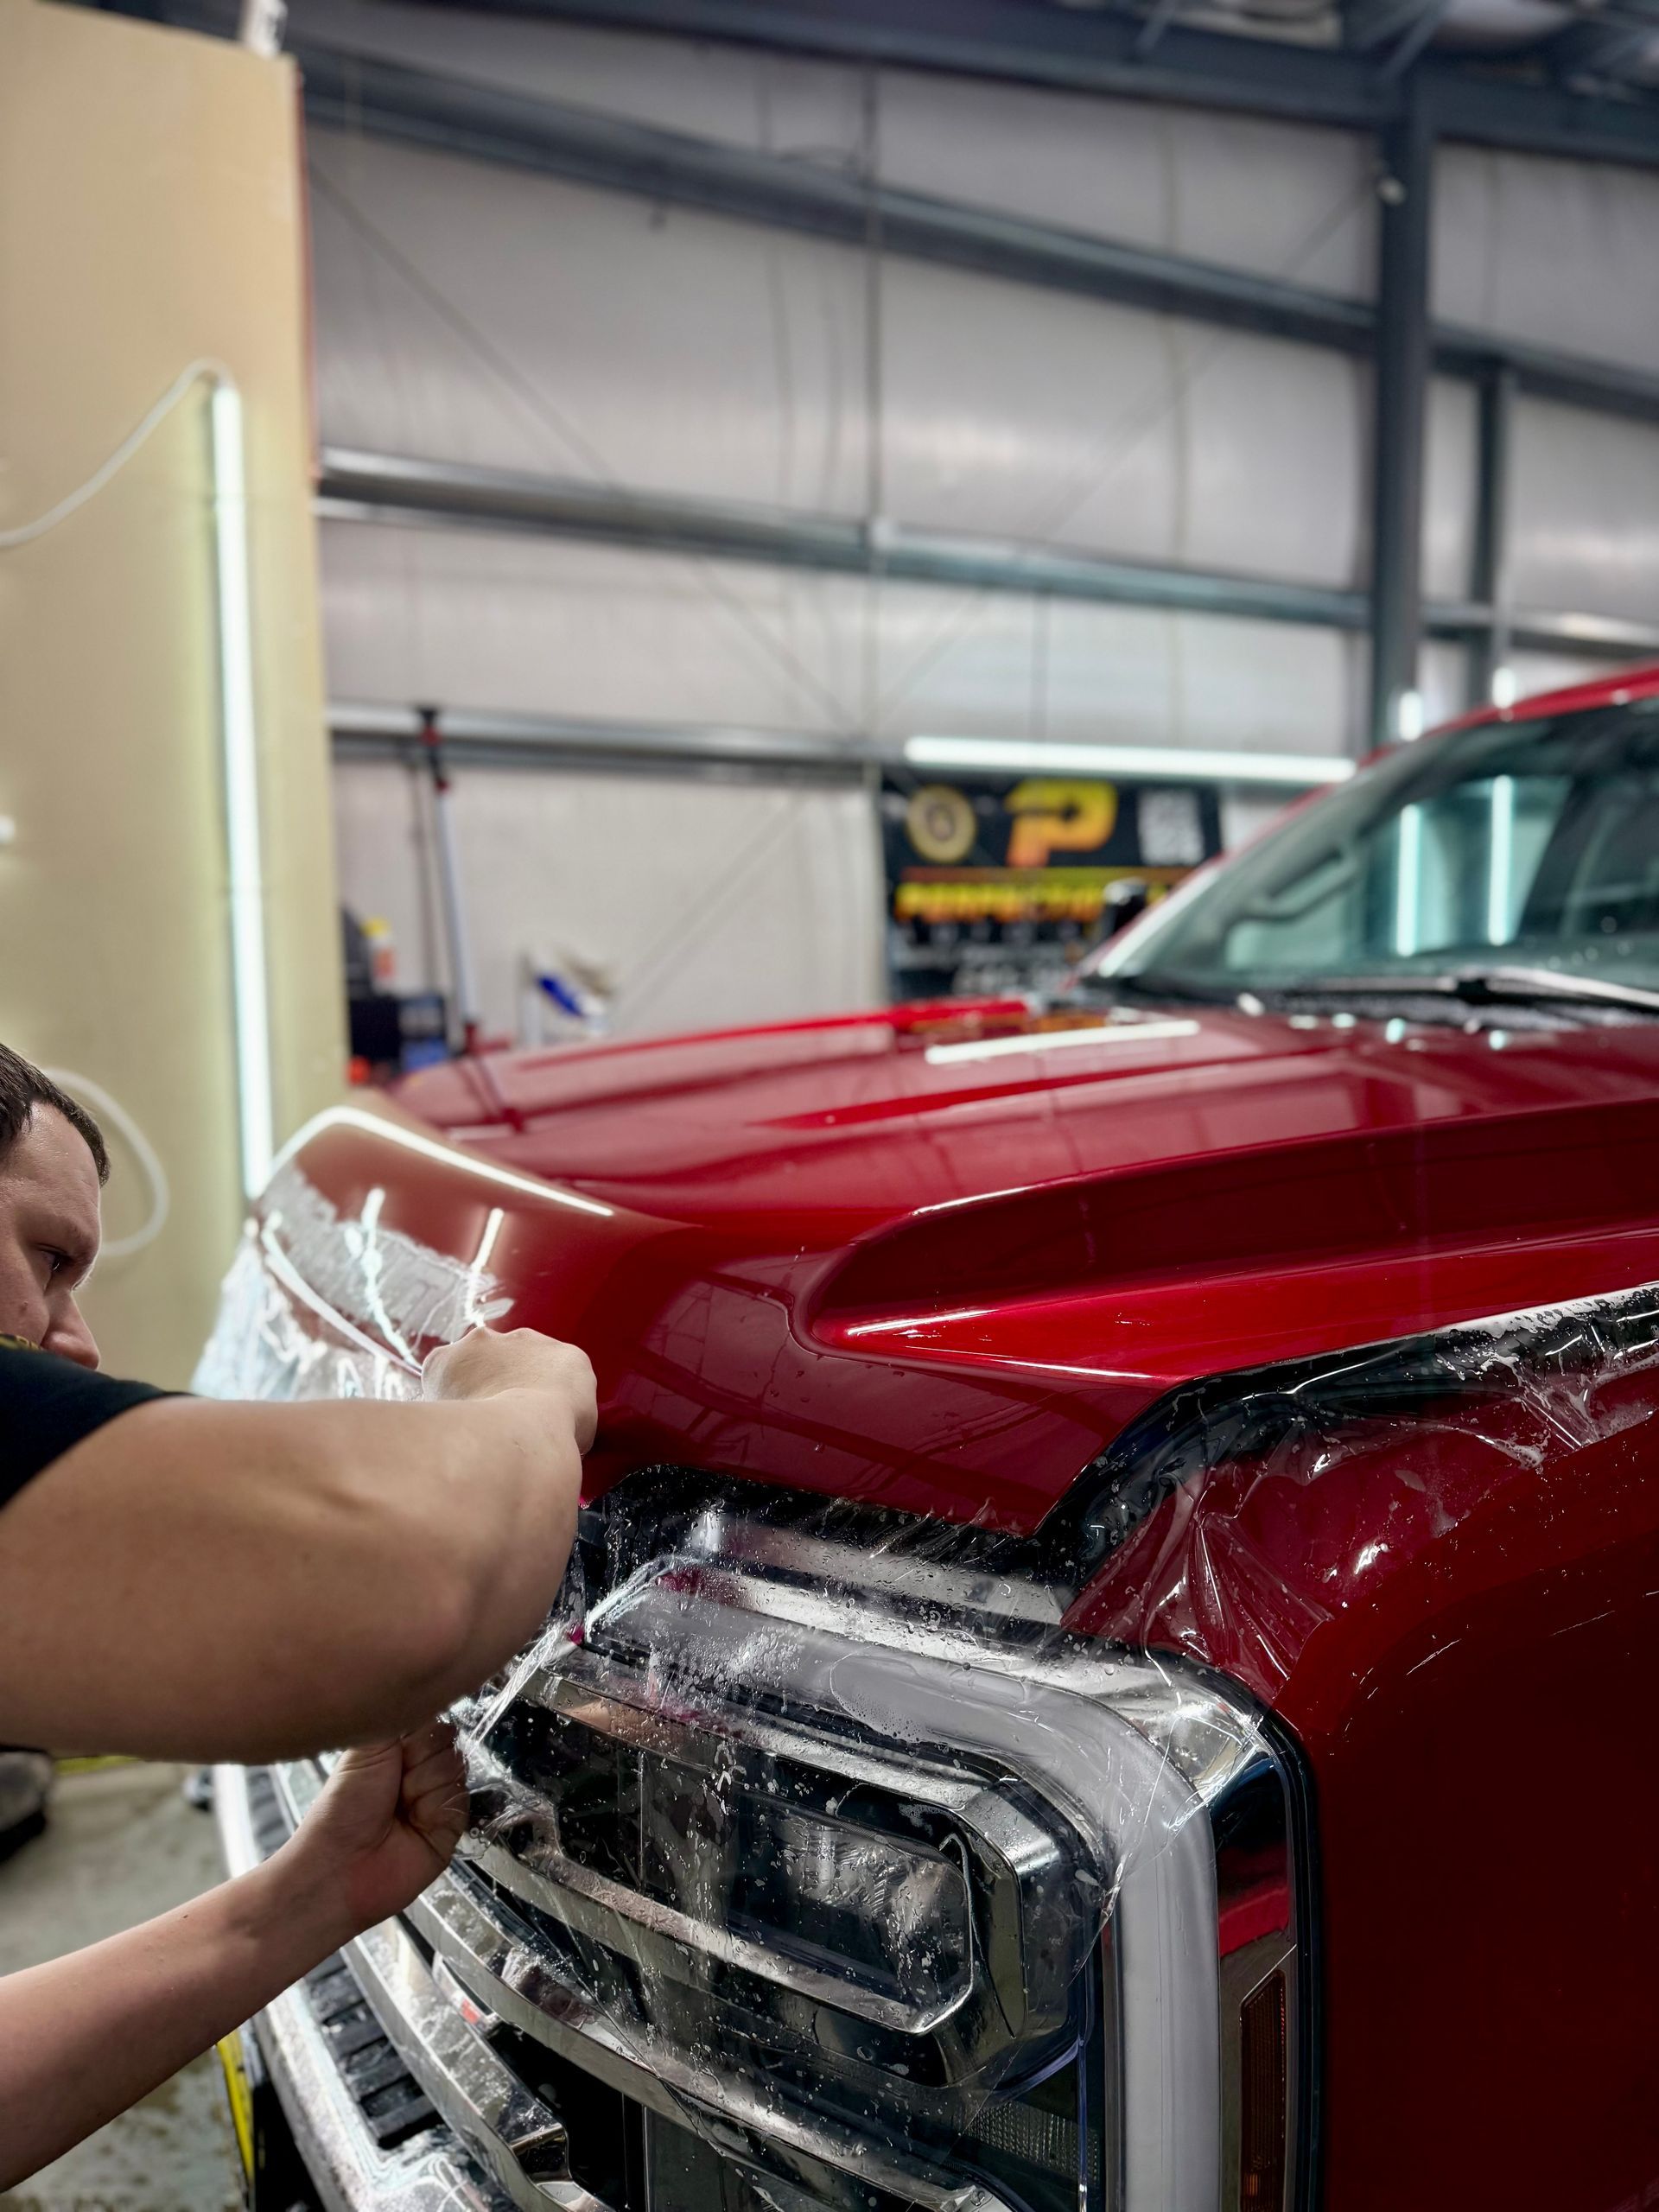
Professional vs. DIY Application
Generally, opting for a professional installation means you’re investing in quality and peace of mind. Professional installers are equipped with certified training and experience; they know how to apply the film meticulously, minimizing common pitfalls like bubbles, wrinkles, and misalignments. Moreover, these experts have access to specialized tools that ensure an even application, which can significantly enhance the durability and appearance of your PPF. However, this convenience comes at a cost—professional installations typically range from $500 to $2000, depending on factors such as vehicle type and film quality.
On the other hand, DIY application presents itself as an enticing option for those looking to save money or earn a sense of satisfaction through hands-on work. Installation kits are available at prices ranging from $60 to $150. Yet, it’s important to acknowledge the challenges involved; many users report that their initial attempts at DIY installations ended up less than perfect. Without prior experience, one may encounter issues resulting in improper adhesion or visible imperfections that detract from the film's protective qualities. Additionally, achieving a clean environment is crucial during application since any debris trapped under the film can undermine its effectiveness.
This tug-of-war between professional care and DIY spirit highlights the need for careful thought about what suits your skills and budget best. For enthusiasts who love taking charge of their cars but lack the finesse needed for PPF installation, this decision becomes critical. It might be helpful to think about whether you value perfection or if you're more motivated by cost efficiency. If the former resonates with you more strongly, investing in a professional may save you time and hassle in the long run. Conversely, if you feel adept with tools and enjoy learning new skills, embarking on a DIY project could offer personal fulfillment. Knowing these pros and cons helps illuminate your path toward making an informed decision that meets both your practical needs and emotional satisfaction.
Maintaining Your Protection Film
Cleaning Routine
Establishing a regular cleaning routine is essential to preserve the clarity and effectiveness of your paint protection film. Dirt, bugs, bird droppings, and road grime can build up over time and, if not removed promptly, may stain or damage the film. Wash your vehicle weekly using a pH-neutral automotive shampoo and a soft microfiber mitt to avoid scratching the surface. Avoid using harsh chemicals or degreasers, especially those containing naphtha or kerosene, as they can break down the film’s top layer.
Drying Technique
After rinsing, it's important to dry the surface properly to prevent water spots. Use a clean, plush microfiber towel with a blotting or gentle wiping motion. Avoid dragging the towel, which could cause swirl marks. If available, a filtered air blower offers a touch-free drying method that’s safe for PPF and helps reach water trapped in crevices.
UV Protection
Even though PPF offers UV resistance, applying a UV protectant spray every few months adds an extra layer of defense. Make sure the spray you use is compatible with your specific film type to avoid chemical reactions that may dull or degrade the finish. Just like sunscreen for your car, this step helps preserve the film’s clarity and gloss, especially in sunny climates.
Avoiding Car Wash Hazards
Automatic car washes, particularly those using spinning brushes, can be rough on PPF. The force of rotating bristles or abrasive cloth strips may lift edges or scratch the surface. Whenever possible, choose hand washing in a shaded area with low-pressure water. If a touchless car wash is your only option, confirm that it uses PPF-safe detergents and non-contact systems.
Regular Inspections
Take a few minutes each month to examine your PPF for early signs of wear. Look closely at panel edges for peeling or lifting, and inspect the surface for cloudiness, bubbling, or discoloration. Catching these issues early gives you a better chance to correct them before they require costly repairs or full reinstallation. Think of this step as routine health checks—simple, quick, and preventive.
By staying consistent with these care practices, you’ll help your PPF deliver long-lasting results. Well-maintained film not only protects your paint from damage but also enhances the vehicle’s appearance and resale value. With minimal effort, you’re ensuring that your investment continues to perform as expected for years to come.
Shield Your Finish with Precision in Madras, OR
Perfection Plus Auto Salon delivers expert paint protection film (PPF) installation in Madras, OR, designed to defend your vehicle’s paint against chips, scratches, and road debris without altering its appearance. Using high-quality materials and meticulous techniques, their team ensures seamless coverage that enhances durability and maintains a factory-fresh finish. Protect your investment where precision meets performance—trust US for unmatched PPF service! Schedule your appointment today!